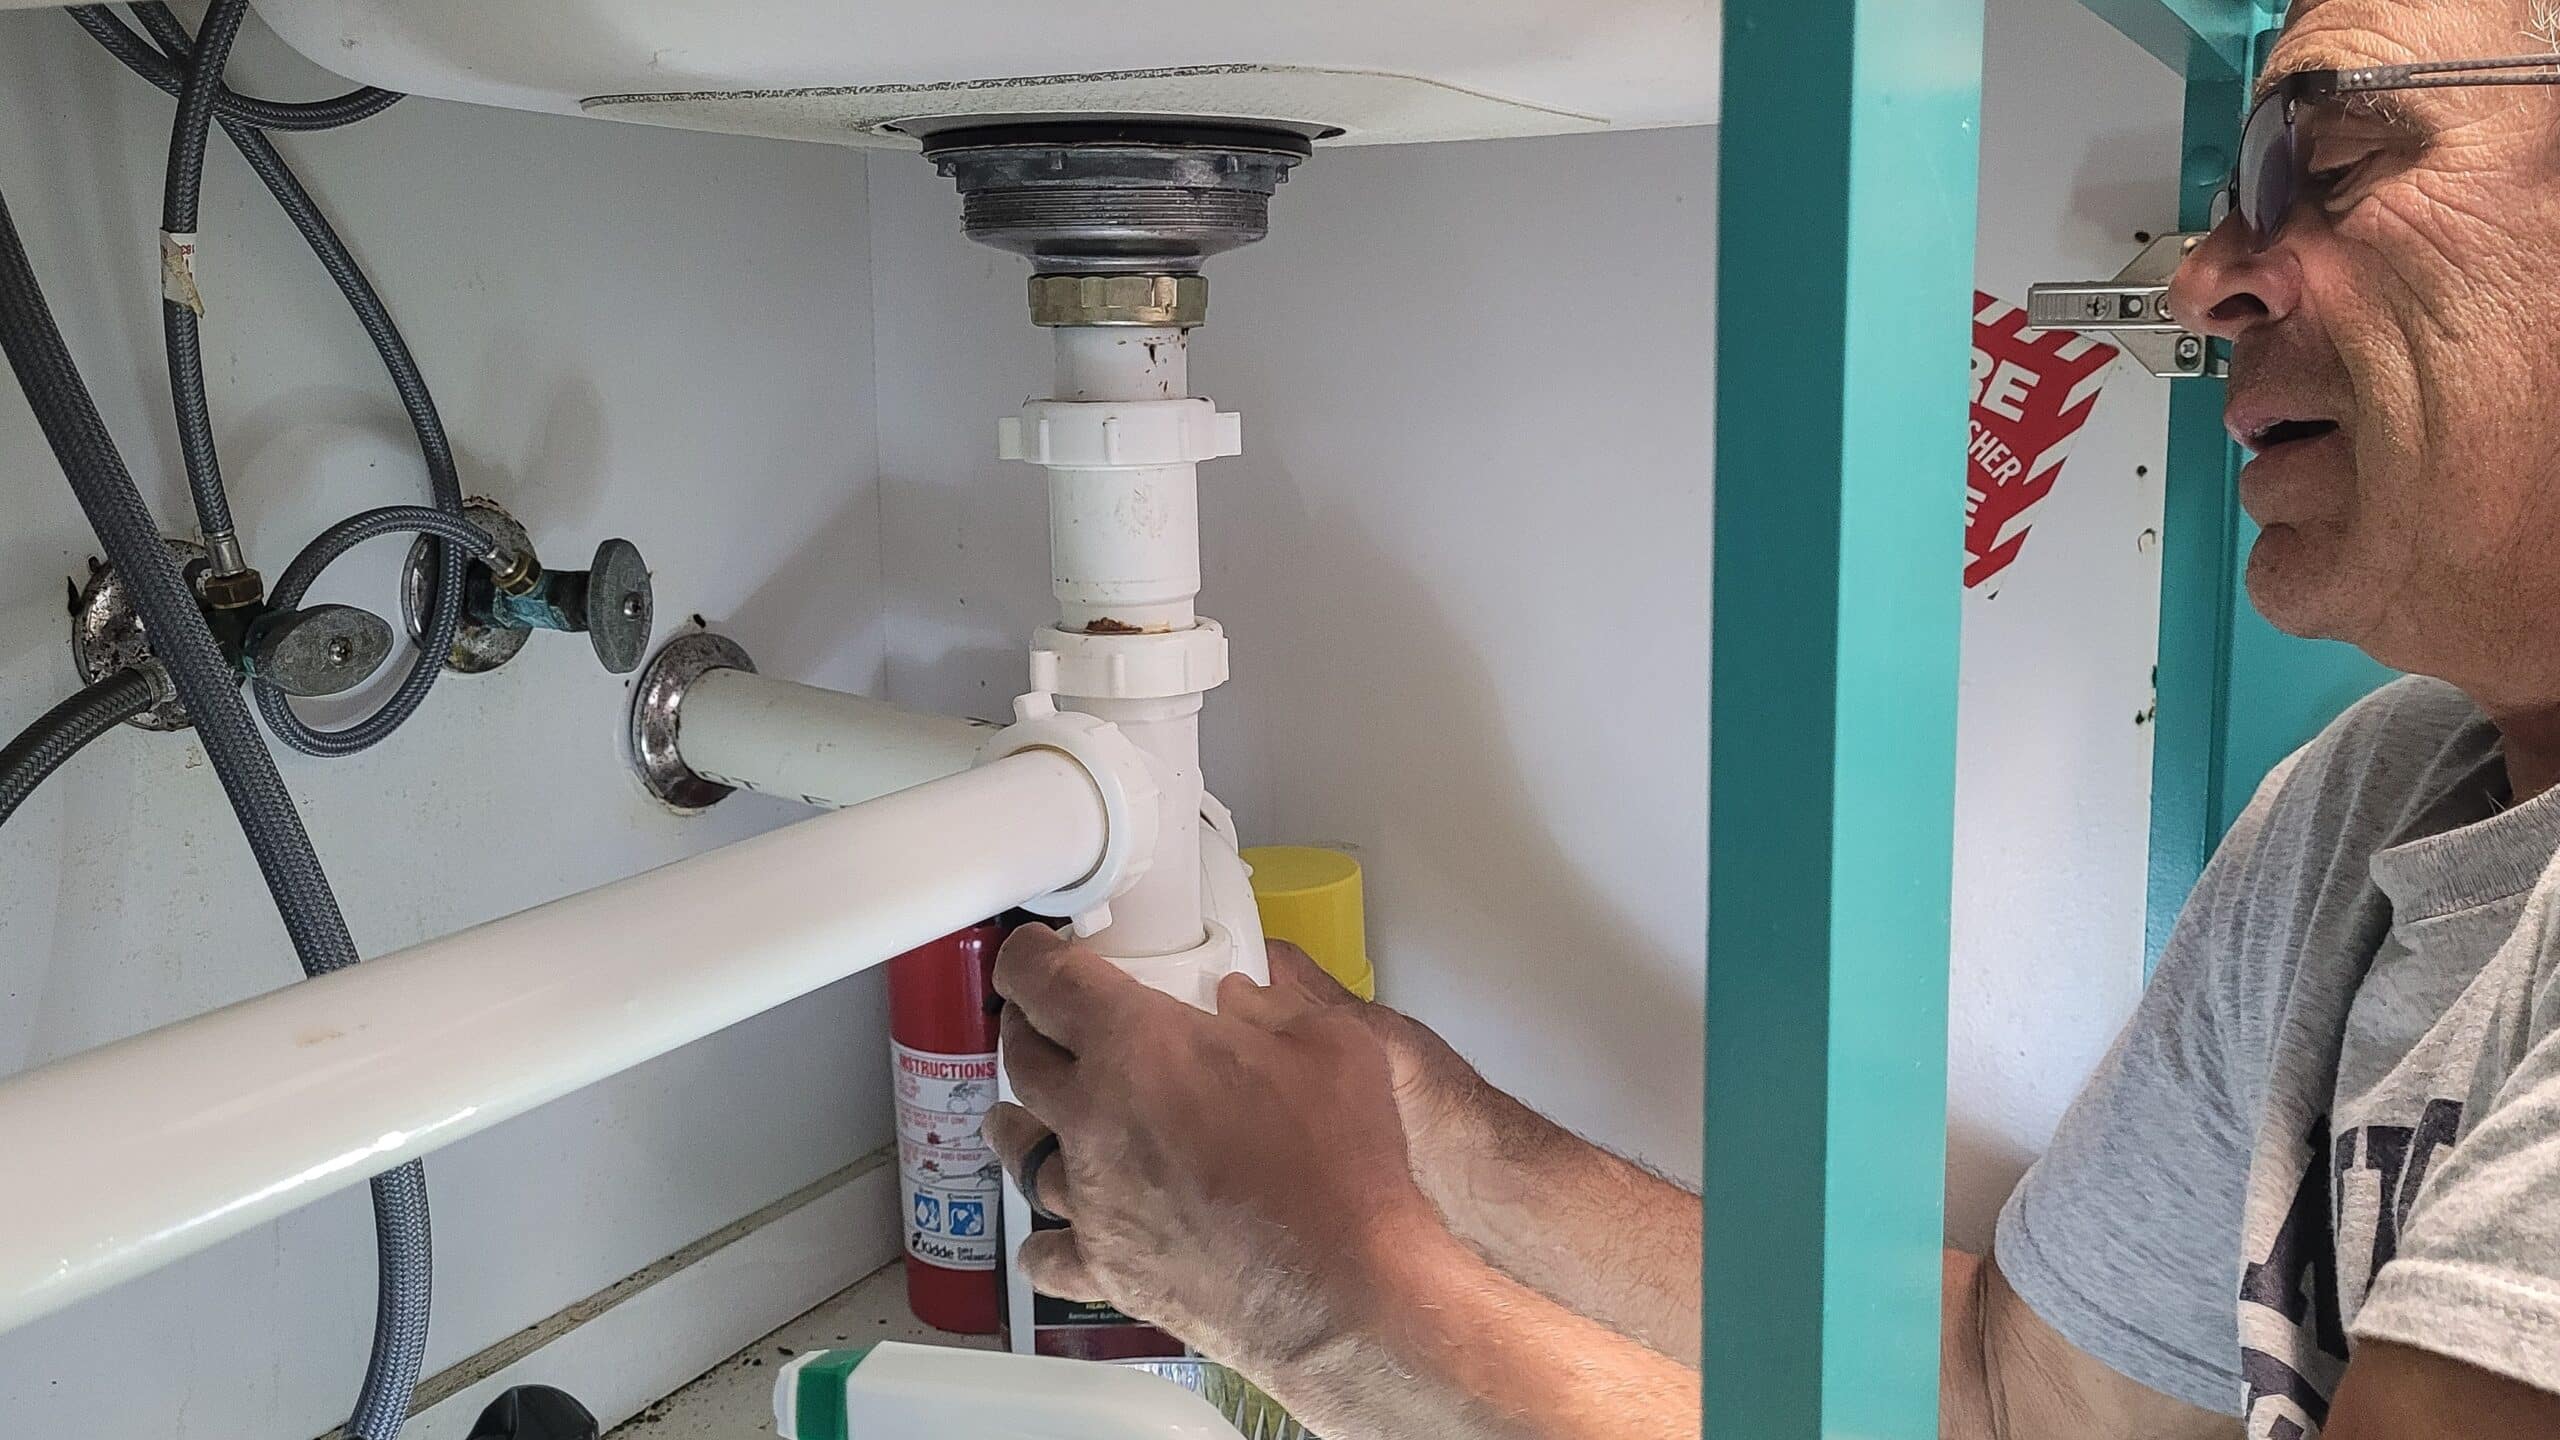
Want to upgrade your kitchen plumbing skills and install a kitchen sink drain without stress? You’re in the right spot. In this kitchen plumbing guide, we’ll walk you through kitchen sink drain plumbing, how to plumb a kitchen sink, and installing a kitchen sink drain step by step. Think of it as chatting over coffee while we break it down in human terms. Let’s get your drain working like a charm.
Why Learn Kitchen Sink Drain Plumbing?
Before we dive in, here’s why knowing how to plumb a kitchen sink is a smart move:
- Save money by avoiding unnecessary plumbing calls
- Boost your confidence in handling simple home repairs
- Prevent leaks and clogs, which are huge kitchen annoyances
What You’ll Need Before You Start
Here’s your kitchen plumbing toolkit:
- Drain kit: Includes sink strainer, tailpiece, slip nuts, washers, and P-trap
- Plumber’s putty or silicone sealant: For the strainer
- Adjustable wrench and channel-lock pliers
- Bucket and towels: Trust us, you’ll want these close
- Teflon tape: Helps seal threaded joints
- PVC cutter or fine-tooth saw
Got your tools ready? Great. Let’s start plumbing your kitchen sink drain.
Step-by-Step: Plumbing a Kitchen Sink Drain
Step 1: Clear the Space and Turn Off the Water
Take everything out from under the sink. Put down your bucket and a towel. Shut off the water valves. If your sink is connected to a garbage disposal, unplug it or turn off the breaker.
Step 2: Remove the Old Drain Parts
Use pliers to loosen the slip nuts holding the old trap and tailpiece. Remove them gently. Expect some water to come out; that’s what the bucket is for.
Now loosen the large nut under the sink that holds the drain strainer in place. Take out the strainer and clean around the opening to remove any old putty or grime.
Step 3: Install the New Sink Strainer
Roll a small rope of plumber’s putty and press it around the underside of the strainer flange. Drop the strainer into the hole from above the sink.
From underneath, slide on the rubber gasket, the friction ring, and the lock nut. Tighten it up using your pliers until snug. Wipe away any excess putty that squeezes out.
Step 4: Connect the Tailpiece
Screw the tailpiece onto the bottom of the strainer. This pipe drops straight down and connects to the P-trap. Make sure it’s aligned correctly and not tilted.
Step 5: Install the P-Trap
This is the curved part that holds water to block sewer gases from rising back up. Slide the slip nuts and washers onto both ends of the P-trap. One side connects to the tailpiece, and the other to the wall drain pipe.
Hand-tighten the nuts, then use your pliers to give them a firm quarter turn. Don’t overtighten or you’ll risk cracking the fittings.
Make sure the pipe from the wall is slightly sloped downward toward the drain; about a quarter inch per foot is ideal. That’s enough for gravity to help with drainage, but not so much that water rushes out too fast.
Step 6: If You Have a Garbage Disposal or Dishwasher
For garbage disposals, follow the manufacturer’s mounting instructions. The discharge tube should connect directly to the drain setup, typically on the side of the tailpiece or into the P-trap arm.
If you’re hooking up a dishwasher, connect its drain hose to the dishwasher port on the disposal or tailpiece. Always create a high loop in the hose to prevent backflow.
Step 7: Test for Leaks
Turn the water back on. Run both hot and cold water for a minute while watching the connections. Then plug the sink, fill it partway, and release the water to test for leaks under pressure.
Tighten any connections that drip. If a joint still leaks after tightening, take it apart and make sure the washer is properly seated.
Mistakes and How to Avoid Them
Double trapping: One P-trap is enough. Two can cause suction and poor drainage.
Overtightening fittings: This cracks plastic pipes. Always snug, not extreme.
Wrong slope: Too much or too little slope in the drain line causes clogs or standing water.
Skipping putty or sealant: You’ll regret it. That strainer needs a watertight seal.
Forgetting the vent: If your drain gurgles or drains slowly, you might need an air admittance valve or proper venting.
When to Call a Pro
If the piping doesn’t line up, the wall drain seems too low or too far, or you’re completely reconfiguring your sink layout, call a plumber. That’s where professionals like On Point Plumber come in. We handle custom kitchen plumbing setups and offer quick, honest service that makes life easier.
Need full kitchen or bath remodeling help? Check out our Kitchen & Bath services for expert work done right the first time.
Frequently Asked Questions
Can I use silicone instead of plumber’s putty?
Yes, silicone works too, especially on stainless steel sinks. Just make sure it’s fully cured before running water.
How do I know if I have the right slope on the drain pipe?
A general rule is one-quarter inch per foot. Too flat and you’ll get clogs. Too steep and water outruns solids.
What if my pipes don’t line up?
Use flexible extension tubes or offset fittings. If that doesn’t solve it, it’s time to call a pro.
My trap keeps leaking. What should I check?
First, check that washers are seated correctly and nuts are snug. If it still leaks, you might have a hairline crack or misalignment.
Do I need a vent for my sink drain?
Yes. Without a vent, drainage slows, and you’ll hear gurgling sounds. Most kitchens are already vented, but if not, an air admittance valve may help.

